
Last Updated: October 27, 2026
Quick Summary
The best way to clean cloudy headlights is to wash the lens first, then sand progressively from 800 to 3000 grit and polish, finishing with a UV sealant. Toothpaste and baking soda only buff light haze for a few weeks. Skip restoration if the lens is cracked or fogged from inside.
- Wash the lens with soap and water first, since road film often mimics cloudiness.
- Sand in one direction per grit and never jump more than one step.
- A kit starting at 2000 grit is polish-only and will not fix yellowing.
- A quality UV sealant lets a sand-and-seal job last a year or more.
- Professional ceramic sealant is built to last up to three years.
Table of Contents
- Why Headlights Turn Cloudy and How to Tell What You're Dealing With
- How to Clean Foggy Headlights at Home: Start With Soap and Water
- Sanding and Polishing: The Safe Step-by-Step Workflow
- Picking a Headlight Restoration Kit That Fits Your Skill Level
- Why a Headlight UV Sealant Decides How Long the Clarity Lasts
- How Long Does Headlight Restoration Last and When to Repeat It
- Book a Mobile Restoration and Skip the Trial and Error
- Frequently Asked Questions
Why Headlights Turn Cloudy and How to Tell What You're Dealing With
The need to clean cloudy headlights is a safety problem before it is a cosmetic one. Most plastic lenses are polycarbonate with a thin UV clear coat; sun breaks that coating down, and once it is gone the plastic oxidizes, hazes over, and yellows.
The U.S. Department of Transportation treats headlamp performance as a safety system, not a style choice. Dim, scattered light cuts how far you can see at night and can glare oncoming drivers.
Not every cloudy lens has the same problem, and the fix is different for each.
Surface Oxidation vs. Internal Moisture or Lens Damage
Surface oxidation sits on the outside of the plastic: a dull, chalky film that feels slightly rough and turns yellow or amber over time. This is the good news case, it responds well to cleaning, sanding, and polishing.
Internal moisture is different. For a deeper look at how leaks develop, see our guide on common causes of headlight assembly water damage.
Quick field test:
- Runs a fingernail across the lens. If it catches or feels gritty, that is surface oxidation.
- Look for a hard, sharp line of fog. Condensation usually has an edge. Oxidation fades gradually.
- Check after a dry day in the sun. Fog that stays put points to moisture inside.
- Inspect for cracks, chips, or a loose housing. Physical damage means the lens needs more than a polish.
If the plastic is deeply cracked or the housing is broken, restoration is not the answer. Replacement is. Everyone else can keep reading, because the rest of this guide is for you.
How to Clean Foggy Headlights at Home: Start With Soap and Water
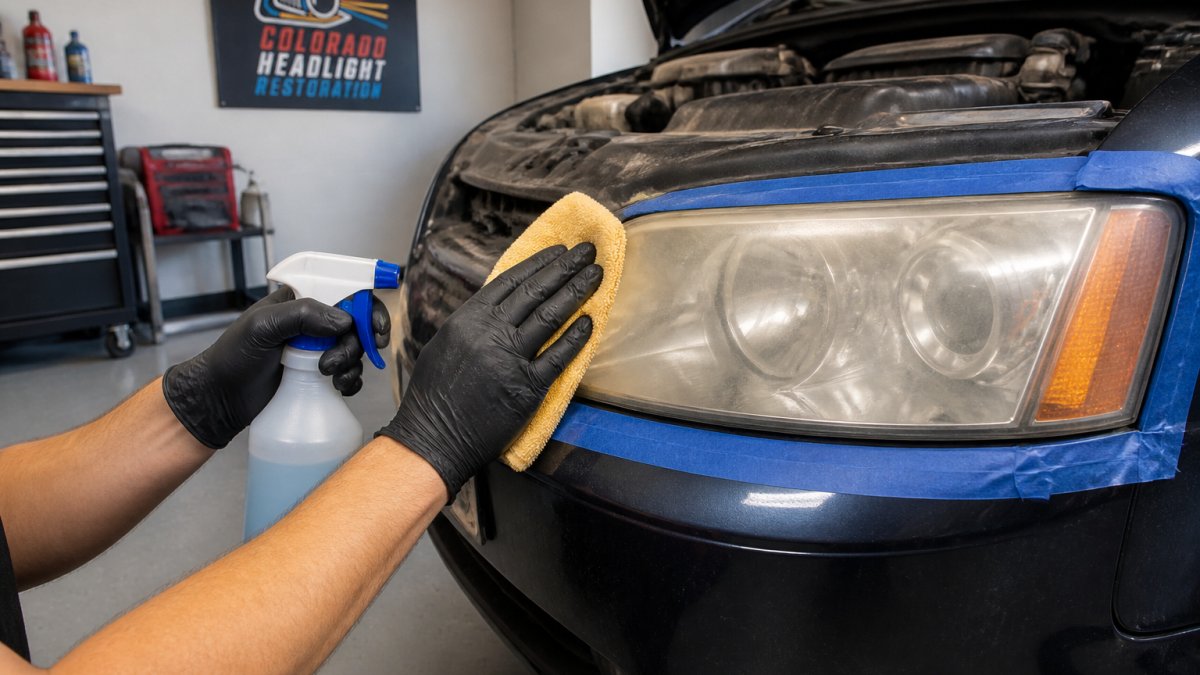
Before you buy anything to clean cloudy headlights, wash the lens. A surprising share of "cloudy" headlights are just coated in road film, bug residue, and grime. Soap and water remove the loose layer and show you what is actually wrong.
If the lens looks clear after washing, you are done. If it still looks hazy or yellow, the damage is in the plastic and you move to the next step.
Household Remedies: Toothpaste, Baking Soda, and Vinegar
Toothpaste is the internet's favorite fix, and it works for one reason: it is a mild abrasive. The fine grit in ordinary white toothpaste can buff away very light haze on a small area.
What each remedy actually does:
- Toothpaste: light abrasive. Good for a quick pass on faint haze. Use plain white paste, not gel, and work it with a damp cloth in small circles.
- Baking soda: a softer abrasive. Mix with water into a paste for gentle scuffing. Works similar to toothpaste.
- Vinegar: a mild acid that helps cut mineral film and grime. It cleans, but it does not restore plastic.
Treat these as a stopgap. They buy a few weeks at best and leave the bare plastic even more exposed to UV. For a real result, sanding and polishing is the honest path.
Sanding and Polishing: The Safe Step-by-Step Workflow
Step 6: Seal. Apply a UV protective coating in a light, even coat. This step decides how long your work lasts.
Choosing Grits and Sanding Progressively
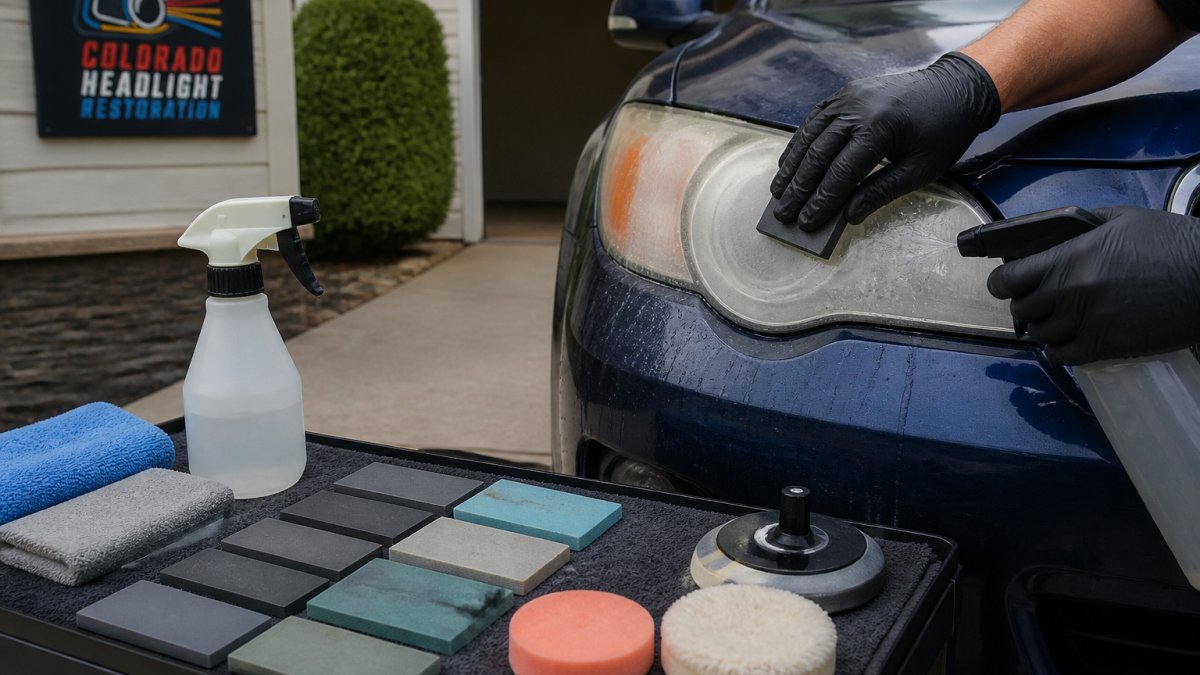
The rule is simple: start coarse enough to cut the damage, then step finer to remove the scratches each grit leaves behind. Never jump more than one step.
A typical progression:
- 800 grit to cut through heavy yellowing and dead clear coat
- 1500 grit to smooth the surface
- 2000 grit to refine it further
- 3000 grit for a near-polish finish before compound
Sand in one direction with the coarse grit, then switch directions with the next so you can see when the previous scratches are gone. Keep the surface wet and wipe dry often to check progress.
A few mechanics separate a clean result from a streaky one:
- Match the starting grit to the damage. Light haze may only need 1500 or 2000 grit; deep yellowing and flaking clear coat need the 800 start. Starting too fine wastes time; too coarse removes more plastic than necessary.
- Let the paper do the work. Pressing hard generates heat, clogs the paper, and cuts unevenly. Light, consistent pressure with a block gives a flatter surface.
- Rinse the paper, not just the lens. Trapped grit scratches. Spray the paper and lens together, and swap to a fresh sheet when it stops cutting.
- Dry-inspect between grits. Wipe the lens dry and look at it under direct light at an angle. If you still see the previous grit's scratch pattern, keep going before stepping finer.
- Stop at the edge. The perimeter of the lens is where plastic is thinnest and where tape protects the paint. Slow down near the edges rather than sanding through them.
Drying, Inspecting, and Knowing When to Stop
After the finest grit, the lens should look uniformly hazy but free of deep scratches. Dry it completely and inspect under direct sun or a bright work light at a low angle. Look for:
- Uniform haze, good, the polish will clear it.
- Remaining yellow patches, step back one grit and re-sand that area.
- Deep scratches or sand-through spots, stop. Sanding further will not fix them, and the lens may need replacement.
Polish only after the surface is uniform. Polishing over uneven sanding scratches just hides them until the sun brings them back.
Picking a Headlight Restoration Kit That Fits Your Skill Level
A headlight restoration kit bundles the sanding pads, polish, and sometimes a sealant into one box, easier than buying each piece separately. The trade-off: kits vary a lot in quality and contents, and the box rarely tells you whether it matches your lens.
According to Car and Driver's headlight restoration kit testing, the Cerakote Ceramic Headlight Restoration Kit earned its best overall pick, while the 3M Headlight Lens Restoration System was named the heavy-duty option. Both are solid starting points for a confident DIYer.
The more useful skill is reading a kit before you buy it. What matters on the label:
- Grit range. A kit that starts at 800 grit can cut heavy oxidation. A kit that starts at 2000 grit is a polish-only product and will not fix yellowing.
- Wet or dry pads. Wet-sanding pads are the standard for plastic lenses. Dry-only pads clog faster and generate heat.
- Drill-backed vs. hand-sanded. Drill attachments speed up the coarse stages but demand a light touch, too much speed or pressure burns the plastic. Hand sanding is slower but more forgiving for a first-timer.
- Sealant included or not. Many kits ship with a basic sealant or none at all. Check what protection is in the box, because that determines how long the result lasts.
- Quantity of pads. Pads wear out. A kit with one pad per grit may not finish a pair of heavily oxidized lenses.
Match the kit to your comfort level and lens condition:
- First-timer, light haze: choose a kit with pre-labeled grits, hand-sanding pads, and a clear instruction sheet.
- Heavy yellowing: pick a system with a coarse starting pad and a drill-backed sanding attachment, and plan to buy extra pads.
- Small budget: a store-bought product like Turtle Wax Headlight Restorer is a reasonable entry point, though results vary by lens condition.
Why a Headlight UV Sealant Decides How Long the Clarity Lasts
A headlight UV sealant is a protective coating applied after polishing that shields the bare plastic from sunlight. Without it, the freshly exposed polycarbonate starts oxidizing again almost immediately. You just sanded off the factory UV layer, so the plastic underneath has zero protection.
What to look for:
- UV blockers designed for plastic, not paint
- A ceramic or coating-based formula rather than a thin wax
- A light, even coat rather than a heavy pour
A wax will wash off in a few weeks. A proper UV coating is built to hold up under constant sun. If you are weighing your options, our article on why car headlights turn yellow explains how UV exposure drives the whole cycle.
How Long Does Headlight Restoration Last and When to Repeat It
Results vary by product and climate. A quick toothpaste buff might last a few weeks.
Signs it is time to repeat or top up:
- The lens starts looking dull again in direct sun
- You notice a faint yellow tint returning at the top edge
- Water stops beading on the lens surface
- Nighttime visibility feels weaker than it did right after restoration
Maintenance is cheap. A periodic wipe-down and a fresh sealant coat stretch the life of your work. If you are comparing DIY time against a pro job, our breakdown of how long mobile headlight restoration takes covers what to expect.
How long the clarity lasts depends on the method and the protection used.
| Method | Expected durability | Note |
|---|---|---|
| Toothpaste buff | A few weeks | Stopgap only, no lasting protection |
| Sand-and-seal with quality UV coating | A year or more | Depends on product and climate |
| Professional ceramic sealant | Up to three years | Built for constant sun exposure |
Book a Mobile Restoration and Skip the Trial and Error
At Colorado Headlight Restoration, we come to your home or office and restore your lenses on site. Our process takes 30 to 60 minutes and includes a ceramic UV sealant designed to withstand high-altitude sun for up to three years. You also get a one-year free re-restoration guarantee. The service saves hundreds of dollars compared to full headlight assembly replacement.
Want to see what it runs and how it works? Check our mobile headlight restoration costs and results, or go straight to booking a professional headlight cleaning service in the metro area.
Frequently Asked Questions
What is the best liquid for cleaning car headlights?
Plain soap and water is the safest starting point and removes surface grime without harming the plastic lens. Mix a few drops of mild dish soap into a bucket of water, wipe the lens with a clean cloth, then rinse and dry. For heavier buildup, a wax and grease remover or degreaser helps lift road film. Save abrasive polishes and sanding for oxidation that washing does not fix, since those steps remove a thin layer of plastic.
Does WD-40 really clean your headlights?
WD-40 can wipe away light surface grime and temporarily make a hazy lens look glossier, but it does not remove oxidation. The effect fades after a few washes or rain storms because nothing seals the plastic. If your headlights are yellowed or cloudy from sun exposure, you need to sand and polish the surface, then apply a headlight UV sealant. A quick spray is fine for cleaning dirt, not for restoration.
How do you keep headlights from getting cloudy again?
The protective layer matters as much as the polishing. After restoration, apply a headlight UV sealant or ceramic coating that blocks ultraviolet light, which is what breaks down the plastic in the first place. Wax alone wears off in weeks. A quality ceramic UV sealant can hold up for years and is the main reason a professional restoration outlasts a DIY kit that skips the final coating step.
When should you replace a headlight instead of restoring it?
Restoration works when the cloudiness sits on the outer surface. If you see moisture beads, condensation that will not clear, cracks, or a yellow tint coming from inside the housing, the lens or seal is failing and polishing will not fix it. Replacement also makes sense when the housing is physically broken. For surface oxidation on an intact lens, restoration costs far less than a new assembly and restores most of the original clarity.
Cloudy lenses are a visibility problem, and the fix comes down to one thing: getting the oxidation off and sealing the plastic so it stays off. If you would rather hand that job to someone who does it every day, we are ready. Get started with Colorado Headlight Restoration and drive with clear, bright headlights again.

Learn more about our headlight restoration in Denver, or see headlight restoration in Longmont.
Cloudy headlights? Get your price in 30 seconds.
Mobile service across the Denver metro. Most vehicles finished in 30–60 minutes, right in your driveway.