
Last Updated: October 31, 2026
Quick Summary
To remove ice from headlights safely, start the engine, switch on the low beams and let the lens warm for five to ten minutes, then spray a plastic-safe de-icer and scrape gently in one direction with a soft plastic blade. Never pour hot water on a frozen lens or chip at thick ice with a metal tool, because polycarbonate can crack from sudden temperature change.
- Frost forms fastest on cloudy, oxidized lenses because pits and a failing coating trap moisture.
- Wipe a small spot with your thumb to tell exterior frost from internal condensation.
- Use a soft plastic scraper with no metal edge and light pressure in one direction.
- Warm water in a spray bottle rinses loose ice; never use hot water or a full-blast hose.
- A light tarp over the front end on forecast ice nights keeps moisture off the lens.
Table of Contents
- Why Ice Forms on Headlights and Why It Matters
- How to Defrost Headlights Without Damage
- Step-by-Step: How to Remove Ice from Headlights Safely
- Choosing a Safe Ice Scraper for Headlights
- How to Prevent Ice on Headlights Before It Forms
- Headlight Condensation in Winter: When the Fog Is Inside
- What Not to Use on Frozen Headlights
- Book a Mobile Headlight Restoration Before the Next Freeze
- Frequently Asked Questions
Why Ice Forms on Headlights and Why It Matters
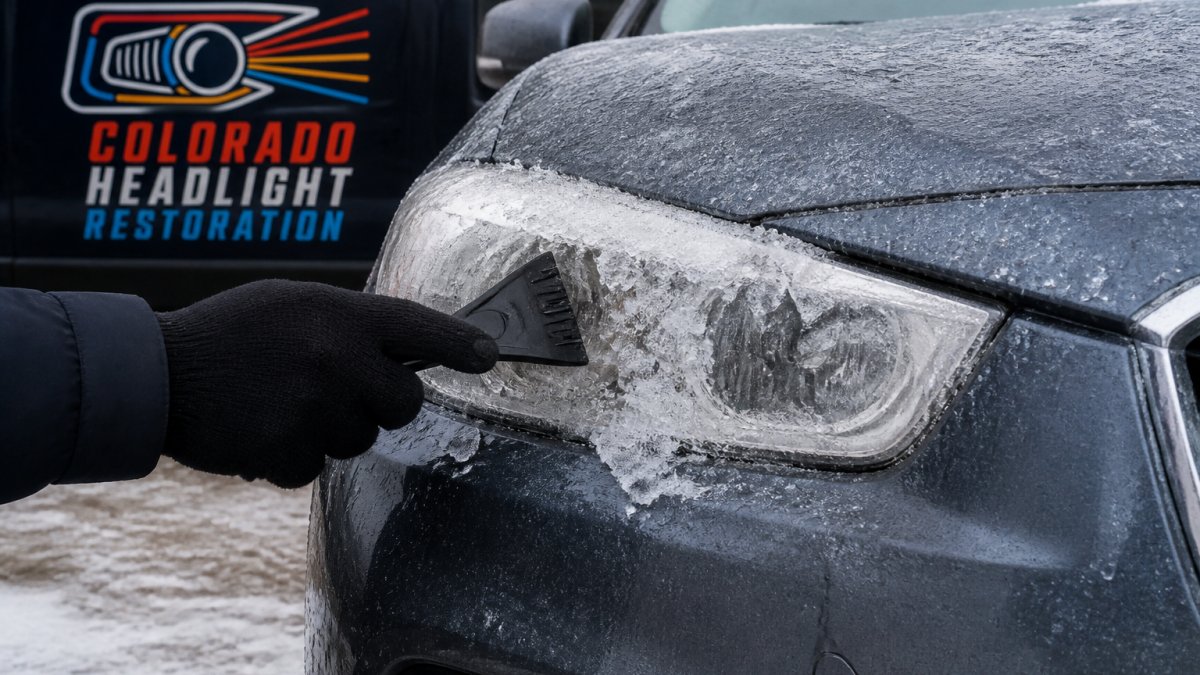
Frost builds on headlights when the lens surface drops below freezing and moisture in the air condenses and freezes on it.
Here is the part most drivers miss: a cloudy, oxidized lens gives ice more to grab onto. Microscopic pits and a failing protective coating trap moisture. The ice bonds harder, and scraping it off does more damage.
A clear, well-sealed lens sheds frost faster and takes far less abuse.
Why does it matter for safety? A frosted headlight throws light back at you instead of down the road. You lose beam pattern, you lose distance, and on a dark commute that margin is everything.
Exterior Frost vs. Internal Condensation
Not all fog on a headlight is the same, and the fix is different for each.
Exterior frost is ice on the outside of the lens. It scrapes off, melts off, or sprays off. This is what most people are dealing with on a cold morning.
Internal condensation is moisture trapped inside the headlight housing. You will see droplets, a foggy film, or water pooling at the bottom. Scraping the outside does nothing for it.
Quick test: wipe a small spot with your thumb. If the haze clears on the outside, it is exterior frost.
How to Defrost Headlights Without Damage
The fastest safe way to defrost headlights is warm air and patience, not hot water and force. Start the engine, turn on the low beams, and let the lens warm from the inside while you clear the windshield.
A few ground rules:
- Never pour hot water on a frozen lens. Polycarbonate can crack from the sudden temperature change.
- Never chip at thick ice with a metal tool.
- Never use a blow dryer on high heat held close to the lens.
The low-beam trick works well because the light assembly warms gradually. Give it five to ten minutes while you scrape the windows. By the time you reach the headlights, the ice has loosened its grip.
Watch out: if your lens is already cracked or has peeling UV coating, heat and scraping can lift more coating. Treat a damaged lens gently and plan a restoration.
Step-by-Step: How to Remove Ice from Headlights Safely
Here is the full process we recommend, start to finish. It takes about ten minutes and needs nothing exotic. The key difference from generic windshield advice is that every step is chosen for polycarbonate headlight lenses and their UV coating, not for glass.
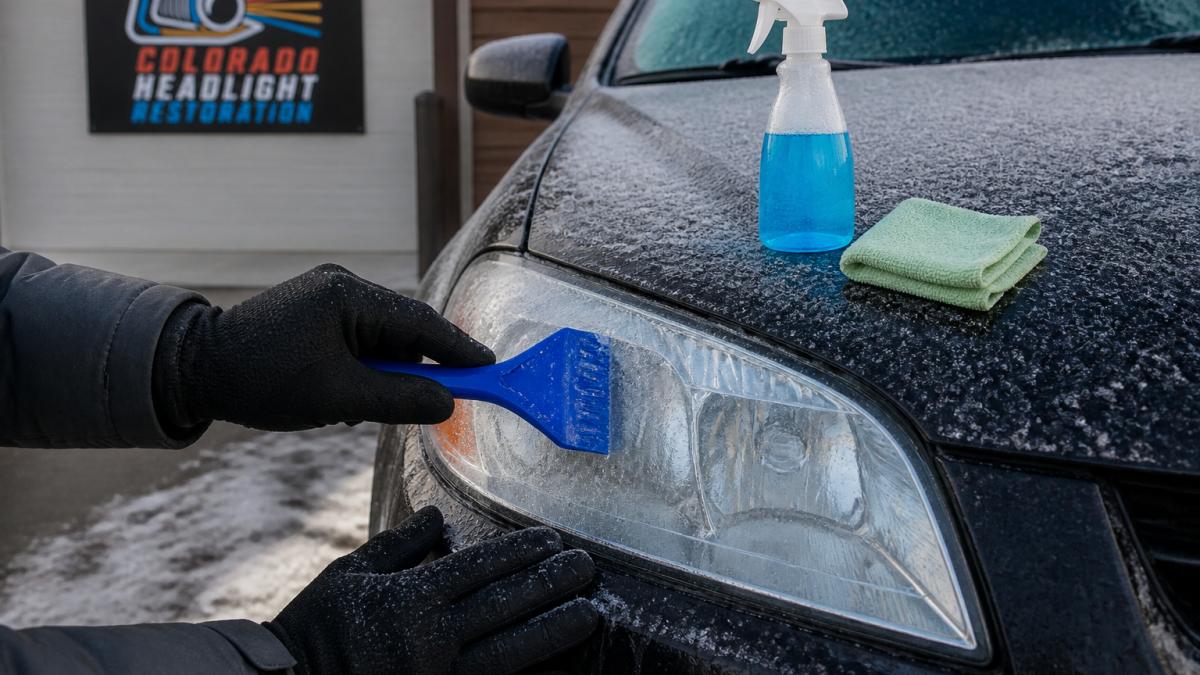
What You'll Need
- A soft plastic ice scraper, the kind made for windshields, with no metal edge
- A microfiber cloth
- A plastic-safe de-icer spray (check the label for polycarbonate or plastic compatibility)
- Warm water in a spray bottle, not hot
- A sponge or soft cloth for the final wipe
The Removal Process
- Start the engine and switch on the low beams. Let the lens warm for five to ten minutes. This warms the housing from the inside and loosens the ice bond without thermal shock.
- Clear the windshield and mirrors first. This keeps you from rushing the headlights and gives the low beams time to work.
- Spray de-icer on the lens. Give it a minute to work on the bond. Check the product label for plastic compatibility before use. If the label is unclear, plain warm water and time are safer.
- Scrape gently in one direction. Use light pressure and a plastic blade only. Short, light passes in one direction do the job; the aggressive back-and-forth motion you use on glass can gouge headlight plastic.
- Spray warm water to rinse loose ice. Never hot, never a hose on full blast. Warm water carries away loosened ice without a temperature shock.
- Wipe dry with a microfiber cloth. Dry the lens fully so it does not refreeze. Residual water in the lens edges can refreeze and expand.
- Check the beam pattern and lens condition before you drive. Look for dark spots, a scattered beam, cracks, or peeling coating. If one headlight is still iced over or dim, do not drive until it is clear; reduced visibility on one side is a safety hazard.
If ice is thick, repeat the spray-and-wait step rather than scraping harder. Force is what causes scratches.
Here is the full removal process at a glance, from warming the lens to checking the beam before you drive.
| Step | What to do | Time or detail |
|---|---|---|
| 1 | Start engine, switch on low beams | Warm lens five to ten minutes |
| 2 | Clear windshield and mirrors first | Gives low beams time to work |
| 3 | Spray plastic-safe de-icer on lens | Give it a minute to work |
| 4 | Scrape gently in one direction | Light pressure, plastic blade only |
| 5 | Spray warm water to rinse loose ice | Never hot, never full blast |
| 6 | Wipe dry with microfiber cloth | Prevents refreezing |
| 7 | Check beam pattern and lens condition | Do not drive if one headlight is dim |
Choosing a Safe Ice Scraper for Headlights
A safe ice scraper for headlights is a soft plastic blade with no metal edge, no brass, and no stiff nylon bristles. The lens is polycarbonate, which is tough but scratches easily. A windshield scraper works fine as long as the blade is plastic and you use light pressure.
Skip these:
- Metal-blade scrapers
- Ice choppers and chisels
- Stiff-bristle brushes
- Credit cards, which crack in cold weather and can gouge the lens
A common mistake is using the same aggressive motion you use on glass. Glass is hard. Headlight plastic is not. Short, light passes in one direction do the job.
How to Prevent Ice on Headlights Before It Forms
Prevention comes down to two things: keeping water off the lens and keeping the lens in good shape. Ice tends to bond hardest where moisture sits on a rough surface.
- Park facing away from the wind if you can. Wind-driven moisture freezes faster on the leading edge of the lens.
- Cover the front end with a windshield cover or a light tarp on forecast ice nights. Remove the cover in the morning before the ice melts and refreezes under it.
- Apply a plastic-safe sealant or wax made for headlights. A slick coating gives ice a surface to release from and slows UV breakdown of the lens.
- Fix peeling UV coating before winter, not after. A failing coating traps moisture and makes ice bond harder.
- Dry the lenses after a wash in freezing weather. Residual water refreezes overnight and expands in lens edges.
- Clear snow before it freezes. Brush snow off the headlights when you park rather than letting it melt and refreeze into ice.
If your lenses are yellowed or the coating is flaking, they can hold frost longer and scrape worse. You can read more on how high altitude accelerates headlight sun damage.
If your lenses are already cloudy, learning how to clean cloudy headlights and restore clarity is worth doing before the first hard freeze.
Headlight Condensation in Winter: When the Fog Is Inside
Headlight condensation in winter is moisture trapped inside the housing, and it will not scrape off. You will see it as droplets or a film on the inside of the lens that stays after you wipe the outside.
Small amounts can clear on their own. Run the lights, drive, and let the housing warm and vent.
Persistent fog points to a bigger problem:
- A cracked lens or housing
- A failed lens seal
- A blocked vent or drainage hole
If water pools or the fog returns every cold morning, the seal needs attention. Left alone, moisture corrodes reflectors and dulls output. That is a repair, not a wipe-down.
What Not to Use on Frozen Headlights
Some of the most common de-icing habits are the ones that do the most damage.
- Hot water. Thermal shock cracks polycarbonate.
- A metal scraper or ice chopper. Instant scratches and gouges.
- A blow dryer on high heat up close. Warps and crazes the lens.
- Undiluted rubbing alcohol left to sit. Can dry and dull the surface.
- Abrasive pads or steel wool. Sands away the protective coating.
- Harsh treatment on peeling lenses. Lifts more UV coating.
If your lens is already peeling or yellowing, harsh de-icing makes it worse. Spotting signs of headlight UV coating failure early tells you when to stop scraping and start restoring.
When in doubt, warm air and time beat force every time.
Book a Mobile Headlight Restoration Before the Next Freeze
Frost is a nuisance. A worn lens is the real problem, and winter makes it worse.
If your headlights are hazy, yellowed, or peeling, scraping ice off them is a losing fight. Restoring the lens first means less frost, easier removal, and better light on dark commutes.
At Colorado Headlight Restoration, we come to your home or office and restore cloudy lenses to OEM clarity. Our mobile service takes 30 to 60 minutes.
You can check mobile headlight restoration costs and results before you book.
Frequently Asked Questions
Can you pour warm water on frozen headlights?
No. Pouring warm water on a frozen polycarbonate lens can cause thermal shock, cracking the plastic or damaging the protective coating. The temperature swing between ice and warm water is too extreme for the material. Use a plastic-safe de-icer spray or let the engine warm up and the headlights defrost naturally.
How do you remove ice from headlights without scratching the lens?
Start by softening the ice with a plastic-safe de-icer or by letting the engine warm up. Never chip at thick ice with a hard tool. Use a soft plastic scraper designed for headlights, or a microfiber cloth once the ice loosens. Wipe in straight lines, not circular motions, and rinse the lens with a spray of water or de-icer to float away grit before drying with a clean microfiber cloth. This prevents scratches that cloud the lens over time.
Why do my headlights keep fogging up in winter?
Headlight condensation in winter happens when moist air inside the housing meets a cold lens. Small amounts clear up after a drive with the lights on. Persistent fog or water droplets mean the seal is failing, and you should have the housing checked. Preventing ice on the outside does not fix internal condensation, which needs a different repair.
Will an ice scraper scratch a headlight lens?
A standard windshield ice scraper with a hard plastic or metal edge can scratch a polycarbonate headlight lens, especially if grit is trapped in the ice. Use a soft plastic scraper labeled safe for headlights, or a microfiber cloth after the ice softens. Never use a metal blade. If the lens is already hazy or oxidized, the protective coating is compromised and scratches more easily, so consider a professional restoration to restore clarity and add a fresh UV sealant.
Winter will keep testing your lenses. Get ahead of it. Get started with Colorado Headlight Restoration and drive through the cold months with clear, bright headlights.

Learn more about our headlight restoration in Denver, or see headlight restoration in Longmont.
Cloudy headlights? Get your price in 30 seconds.
Mobile service across the Denver metro. Most vehicles finished in 30–60 minutes, right in your driveway.