
Table of Contents
- How to Prevent Headlight Oxidation: A Step-by-Step Routine
- What Causes Headlight Oxidation and Yellowing
- Headlight UV Protection: Sealants, Wax, and Coatings Compared
- Headlight Protection Film: Durability and Upkeep
- Ceramic Coating for Headlights: What It Does and How Long It Lasts
- How to Restore Oxidized Headlights When Prevention Is Too Late
- How to Tell if Oxidation Has Already Started
- Conclusion: Build a Prevention Habit Before Oxidation Sets In
- Frequently Asked Questions
Last Updated: October 15, 2026
How to Prevent Headlight Oxidation: A Step-by-Step Routine
Headlight oxidation is the gradual breakdown of a polycarbonate lens surface caused by UV rays, road debris, and weather exposure. Left alone, it turns clear lenses yellow and hazy, cutting your nighttime visibility.
The good news is that preventing headlight oxidation takes minutes, not hours. Three habits do most of the work, and none of them require a shop visit.
Below is the routine we recommend to every driver, followed by the science behind it and how each protection method stacks up.
Step 1: Wash Lenses Weekly With a Microfiber Towel
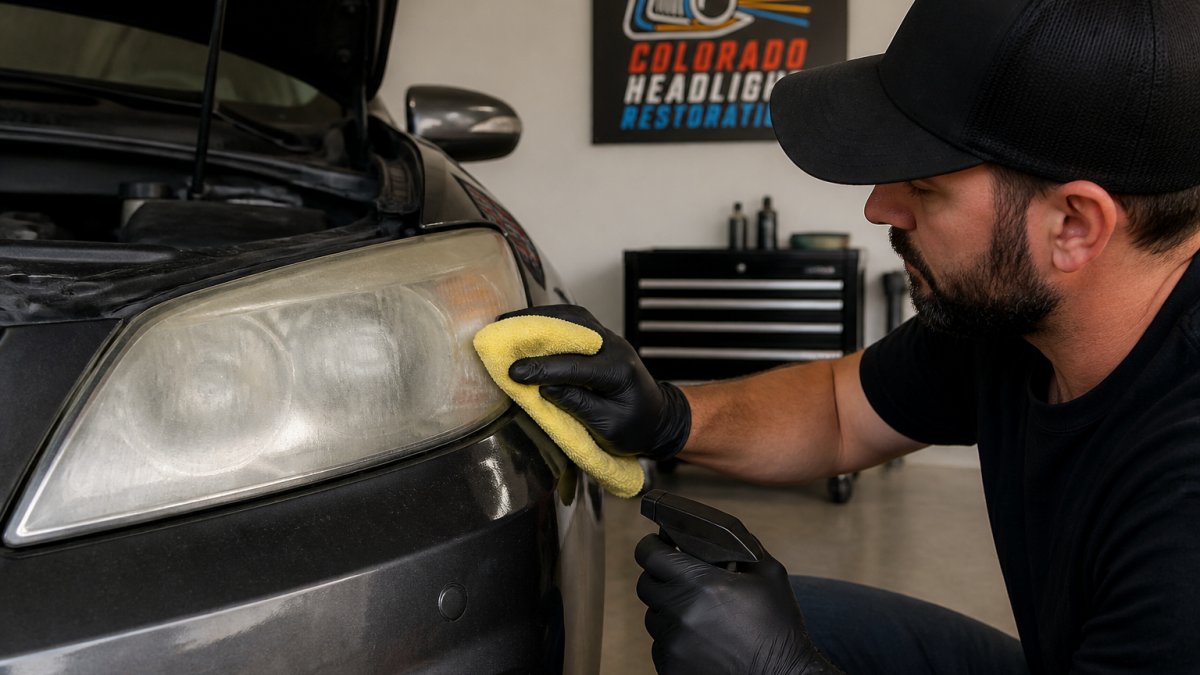
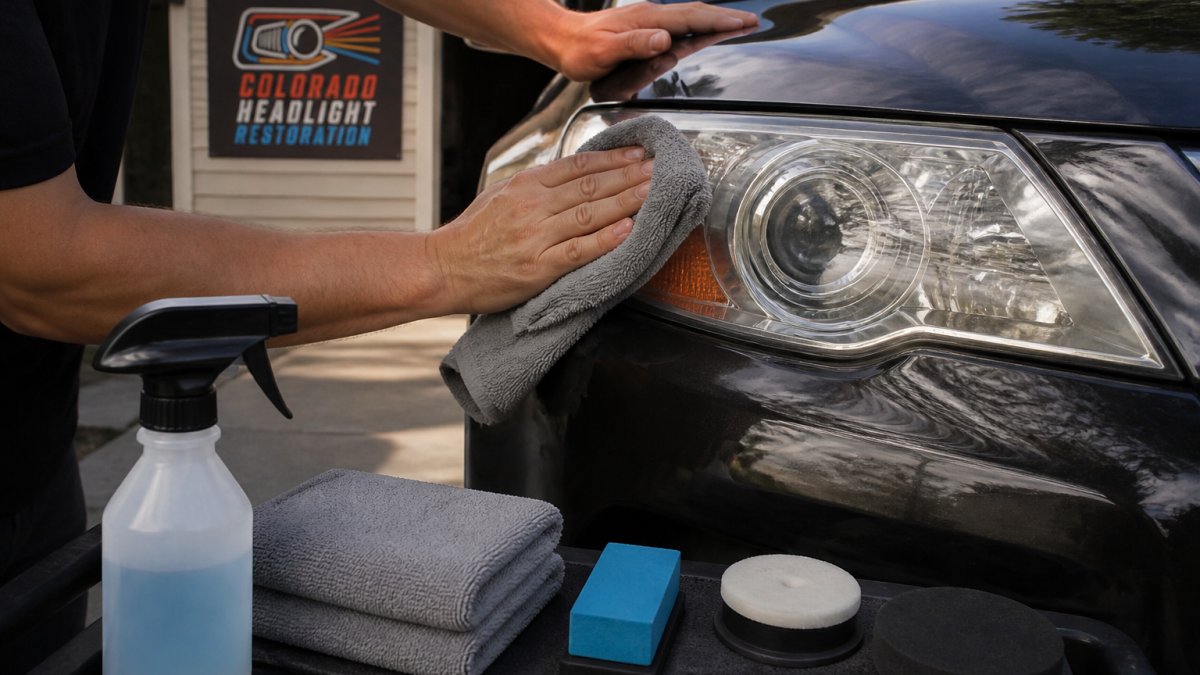
Rinse the lens first, then wipe with a clean microfiber towel and mild car wash soap. Skip the paper towel. It scratches the clear coat.
Dirt and grit act like sandpaper at highway speed. Regular cleaning removes the abrasive layer before wind and vibration grind it into the plastic. A quick wipe at the car wash counts.
- Rinse loose dirt before wiping
- Use soap made for cars, not dish detergent
- Dry with a separate clean towel to avoid streaks
Step 2: Apply a UV-Resistant Sealant Every 3-6 Months
A UV-resistant sealant is a protective coating that blocks the sun's rays from reaching the polycarbonate. Most quality sealants need reapplication every three to six months.
This is the single highest-value step. A sealant does what wax alone cannot: it forms a durable barrier against UV damage rather than a temporary shine. Set a calendar reminder, because forgetting this step is how most lenses yellow.
Step 3: Park in the Shade or Garage Whenever Possible
Shade is free protection. Cutting daily sun exposure can add years to a lens.
Garage parking is ideal. If you park outside, choose the shaded side of a building or a covered spot. Over a year, that difference adds up more than any product you can buy.
What Causes Headlight Oxidation and Yellowing
Most modern headlights are made of polycarbonate with a thin clear coat on top. That clear coat is what fails first. Once it wears through, oxidation attacks the plastic underneath.
Two forces drive the damage: sunlight and physical abrasion. Understanding both helps you target your prevention efforts where they matter.
How UV Rays Break Down Polycarbonate Lenses
UV rays from sun exposure break down the clear coat's chemical bonds. The surface turns from clear to cloudy, then yellow.
High-altitude sun is especially hard on lenses. Less atmosphere means more UV reaches your car, which is why Front Range drivers see oxidation faster than drivers at sea level. A sealant or UV coating is the only real defense.
Road Debris, Sand, and Weather Exposure
Road debris chips the clear coat. Sand blasting on gravel roads strips it. Hail and temperature swings crack it further.
Every rock chip is a doorway for UV damage and moisture. That is why we recommend protection film for anyone who drives unpaved roads or commutes on gravel-heavy routes. The film takes the hits so the lens does not.
Headlight UV Protection: Sealants, Wax, and Coatings Compared
Every protection method trades upfront effort for how often you have to redo it. The right pick depends on how much sun your car sees, how often you wash it, and whether you want a weekend project or a set-and-forget layer.
Here is how the main options stack up on durability, upkeep, and the kind of driver each one suits:
| Method | Typical Durability | Upkeep | Best For | Watch-Outs |
|---|---|---|---|---|
| Wax | 2-4 weeks | Reapply monthly | Budget-minded, frequent washers | Weakest UV block; washes off fast |
| Polymer sealant | 3-6 months | Reapply 2-3x per year | Most daily drivers | Needs a clean, bare lens to bond |
| Ceramic coating | 1-3 years | Occasional top-up | Intense sun, long commutes | Requires surface prep; locks in existing haze |
| Protection film | 3-5 years | Wash only | Gravel roads, heavy commuting | Upfront cost; install quality matters |
How to Read the Durability Numbers
Those ranges assume normal sun exposure and regular washing. A car that lives outside in strong year-round sun will land at the low end of every range. A garaged car that sees mostly shaded parking can stretch them. Treat the numbers as ordering, not promises: film outlasts ceramic, ceramic outlasts sealant, sealant outlasts wax.
Product and Lens Compatibility
This is where most guides go quiet, and it is where mistakes happen. Modern headlights are polycarbonate with a factory clear coat, and not every product plays well with that stack.
- Wax over a failing clear coat can trap moisture and make cloudiness look worse.
- Some sealants will not bond over wax residue. Strip the wax first or the sealant beads up and fails early.
- Ceramic coating over hazy or oxidized plastic seals in the damage. Prep the surface or skip the coating.
- Film will not adhere to a freshly coated lens. If you want film, install it on a clean, uncoated surface.
- Abrasive polishes can cut through a factory clear coat. Use lens-safe products and a light hand.
A Simple Way to Choose
- Wash your car often and want the cheapest option? Wax, reapplied monthly.
- Want a few months between applications? A polymer sealant is the sweet spot for most drivers.
- Park outside in strong sun or commute long distances? Ceramic coating earns its cost.
- Drive gravel or heavily salted winter roads? Protection film absorbs the chips that no liquid product can stop.
Whichever you choose, the application surface matters as much as the product. A clean, cool lens in the shade gives any coating its best chance to cure and last.
Headlight Protection Film: Durability and Upkeep
Headlight protection film is a clear, thick urethane layer that sticks directly to the lens. It blocks UV rays and absorbs rock chips at the same time.
Film is the set-and-forget option. Once installed, it needs nothing but normal washing for years. The trade-off is upfront cost and a careful install; bubbles and edges peel if it is rushed.
- Best for gravel roads and long highway commutes
- Shields against rock chips and sand blasting
- No reapplication needed for years
What most guides miss is that film protects the clear coat, not just the surface. That means the lens underneath stays factory-fresh.
Ceramic Coating for Headlights: What It Does and How Long It Lasts
Ceramic coating for headlights is a liquid polymer that cures into a hard, UV-resistant layer. It typically lasts one to three years depending on sun exposure and product quality.
Ceramic is the strongest DIY-friendly option. It resists UV damage, repels water, and keeps lenses clearer longer than wax or basic sealant. High-altitude sun shortens its life, so drivers here should expect the lower end of that range unless they garage their car.
The catch: coating needs a clean, prepped surface. Applying it over hazy or oxidized plastic locks in the problem. If your lenses are already yellow, restoration comes first.
How to Restore Oxidized Headlights When Prevention Is Too Late
If the lens is already yellow or hazy, no sealant will fix it. You have to remove the damaged layer first, then seal the fresh surface.
Restoration works in stages:
- Wet-sand the lens to strip the dead clear coat
- Polish the plastic back to clarity
- Apply a UV sealant or ceramic coating immediately
The last step is not optional. A restored lens with no sealant yellows again within months.
For lenses that are too far gone, a professional restoration costs far less than new assemblies.
How to Tell if Oxidation Has Already Started
Oxidation rarely announces itself with obvious yellowing. By the time lenses look cloudy, the clear coat is often already gone. The useful skill is telling apart three things that look similar: surface dirt, early UV haze, and damage that has moved past prevention.
A Quick Three-Step Check
- Wash and dry the lens. Use mild car soap and a clean microfiber towel. Some "haze" is just road film and disappears here.
- Look at the lens in shade, then in direct sun. Surface dirt looks uniform. UV haze tends to concentrate at the top edge and around the perimeter, where sun hits hardest.
- Run a fingertip across the surface. Smooth and slick suggests the clear coat is intact. A chalky, rough, or grippy feel means the coating is breaking down.
What Each Result Means
- Clears up after washing, water still beads: The lens is healthy. Keep up your sealant schedule.
- Faint haze that stays after washing, water sheets instead of beading: Early oxidation. Seal the lens now and you may never need restoration.
- Visible yellow or brown tint, rough texture, dull light output: The clear coat has failed. No sealant will reverse this; restoration comes first, then sealing.
- Cracks, peeling film, or deep scratches: Physical damage, not just oxidation. This is a candidate for professional inspection.
Why Water Beading Is a Useful Signal
A healthy clear coat or fresh sealant repels water into tight beads. As the surface degrades, water spreads into flat sheets and clings. That change often shows up before any color shift, which makes it one of the earliest practical warning signs.
When to Stop DIY and Get It Inspected
If light output at night has dropped noticeably, if the haze covers most of the lens, or if you see cracking and peeling, prevention is no longer the right tool. At that point, a professional assessment is worth the time. AAA's guidance on vehicle lighting and visibility is a useful starting point on why lens clarity matters for safety.
Conclusion: Build a Prevention Habit Before Oxidation Sets In
Oxidation is patient. It works on your lenses every sunny day, and by the time you notice the yellow, the clear coat is already gone. A weekly wipe, a sealant every few months, and shade parking are enough to keep most lenses clear for years.
If your lenses are already hazy, or you would rather not spend your weekends sanding plastic, Colorado Headlight Restoration brings the fix to your driveway. Our mobile service restores lenses to OEM clarity in 30 to 60 minutes and finishes with a ceramic UV sealant rated for up to three years of high-altitude sun. You also get a one-year free re-restoration guarantee, so if the finish dulls, we come back.
Book an appointment with Colorado Headlight Restoration and get your nighttime visibility back without paying for new assemblies.
Frequently Asked Questions
What should I put on my headlights to prevent oxidation?
A UV-resistant sealant or ceramic coating is your best defense against headlight oxidation. These products form a protective layer that blocks UV rays and shields the polycarbonate lens from environmental damage. Apply a quality sealant every three to six months, or choose a ceramic coating for longer-lasting protection. Regular wax can help too, but it breaks down faster and needs more frequent reapplication.
Does ceramic coating actually prevent headlight yellowing?
Yes. Ceramic coating creates a durable, UV-resistant barrier on the headlight lens that prevents the polycarbonate from breaking down under sun exposure. It also makes cleaning easier because dirt and road debris don't bond as tightly to the surface. Ceramic coatings can last up to three years with proper maintenance.
How often should I apply UV protection to my headlights?
For sealants and waxes, reapply every three to six months. Ceramic coatings last longer, often one to three years depending on the product and climate. Check your lenses monthly for signs of fading or hazing. If you park outside or drive in intense sun, shorten your reapplication interval. A quick water bead test after rain tells you whether the protective layer is still working.
Does headlight protection film prevent oxidation?
Headlight protection film acts as a physical barrier against UV rays, rock chips, and road debris. Unlike liquid coatings, film also protects against abrasion from sand and gravel. Installation requires a clean surface and careful positioning, but once applied, upkeep is minimal.
Learn more about our headlight restoration in Denver, or see headlight restoration in Longmont.
Cloudy headlights? Get your price in 30 seconds.
Mobile service across the Denver metro. Most vehicles finished in 30–60 minutes, right in your driveway.