
Table of Contents
- Why Nighttime Visibility Drops and What Causes Poor Visibility at Night
- A Pre-Drive Inspection Checklist to Improve Nighttime Visibility
- How to Reduce Headlight Glare from Oncoming Traffic and Vehicles Behind
- Headlight Restoration vs Replacement: Which Fixes Cloudy Lenses?
- Ceramic Coating for Headlights: Why It Keeps Lenses Clear Longer
- Aftermarket LED and Auxiliary Lights: What Actually Helps
- Vision, Medication, and When to See an Eye Doctor
- Conclusion: Build Your Night Driving Routine
- Frequently Asked Questions
Last Updated: October 14, 2026
Why Nighttime Visibility Drops and What Causes Poor Visibility at Night
Nighttime visibility is the distance and clarity at which a driver can detect hazards, lane markings, and other vehicles after dark. It shrinks for two reasons at once: your eyes work differently in low light, and your vehicle's lighting and glass degrade over time. Below, we break down the causes of poor visibility at night, then give you a checklist you can run in ten minutes.
How Your Eyes Adapt (and Struggle) in the Dark
Your eyes rely on rods for night vision, and rods need time. Full dark adaptation takes roughly 20 to 30 minutes, and a single bright light source can reset much of that progress.
Age matters too. The American Optometric Association's guidance on night vision notes that older drivers need more light to see the same detail.
Vehicle Factors That Cut Your Night Vision
Cloudy headlight lenses scatter light instead of projecting it down the road. Add a streaking windshield, worn wiper blades, and a dirty rear-view mirror, and you lose light in three directions at once.
- Oxidized or yellowed headlight lenses
- Burned-out bulbs or mismatched bulb pairs
- Windshield film, inside and out
A Pre-Drive Inspection Checklist to Improve Nighttime Visibility
Most guides tell you to check your lights and clean your glass. Few give you a repeatable system with intervals and pass/fail criteria. This one does. Run the quick check before every night drive, and the full inspection monthly.
The Two-Minute Pre-Drive Walk-Around
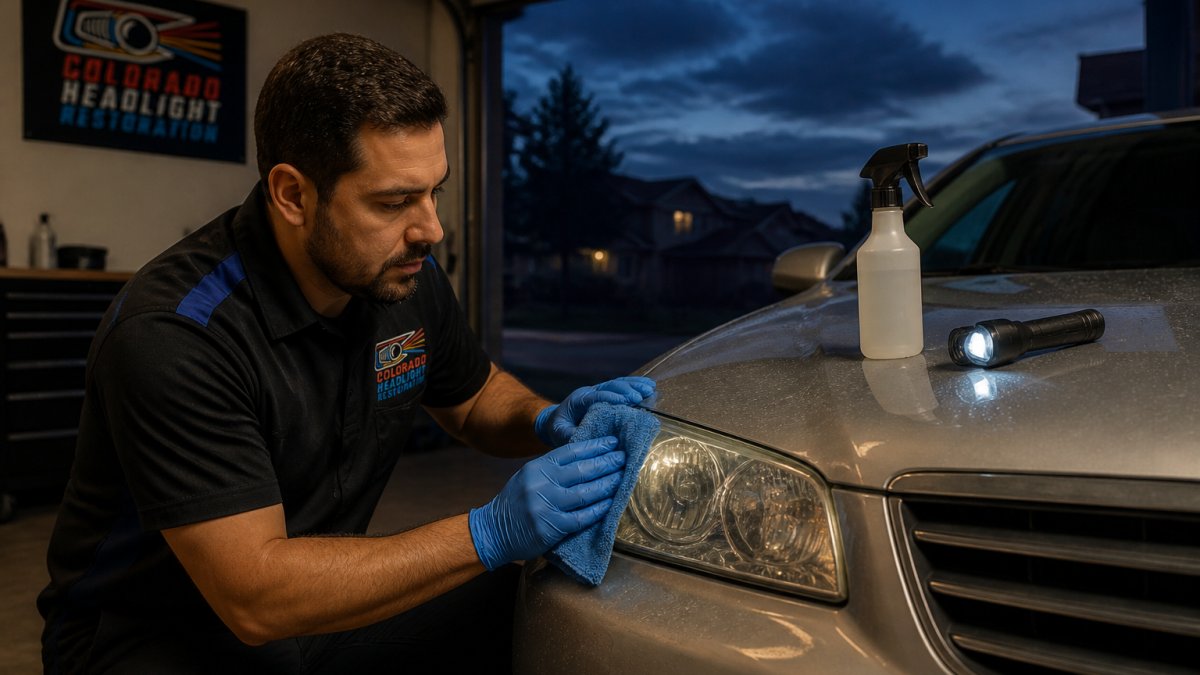
Do this in daylight when possible, and repeat it any time you leave after dark. Work front to back, then side to side.
- Lights, engine off, hazards on: Walk the full perimeter and confirm both front turn signals, both rear turn signals, and both brake lights illuminate. A dead brake light is the most common lighting failure and the hardest to notice from the driver's seat.
- Lights, low beams on: Stand 10 to 15 feet in front of the vehicle. Both beams should look equally bright and the same color. A dim or off-color beam signals a failing bulb or a bad ground.
- Lights, high beams on: Confirm both high beams engage and that the dashboard indicator lights. If only one side brightens, the other bulb or fuse is out.
- Glass: Look at the windshield from outside at a low angle. Haze, film, or wiper arcs that catch the light mean it needs cleaning inside and out.
- Wipers: Run them once with washer fluid. Streaks, chatter, or a missed arc mean the blades are due.
- Mirrors: Wipe both side mirrors and the rear-view mirror. Confirm the rear-view is set to its night position or that auto-dimming is enabled.
The Monthly Full Inspection
Once a month, in daylight, add these steps. They catch the slow degradations that a two-minute check misses.
- Headlight lens clarity: Look at each lens from a few feet away at an angle. A yellow or milky tint means oxidation has started. Compare the two lenses side by side; if one is noticeably hazier, restoration is due.
- Headlight aim: Park on level ground 25 feet from a wall or garage door. With low beams on, mark the top of each beam's bright spot with tape. Both marks should sit at the same height, slightly below the height of the headlight itself. If one beam is high, low, or off to the side, the aim needs adjustment.
- Bulb matching: If you replaced one bulb recently, check that both sides produce the same color temperature. Mismatched pairs create uneven light and can fail a state safety inspection.
What to Keep in the Car for Night Driving
A small kit saves an evening. Pack these and forget about them:
- Microfiber cloths and a spray bottle of glass cleaner
- Spare headlight bulbs matched to your vehicle's specification
- A small inspection flashlight
How to Reduce Headlight Glare from Oncoming Traffic and Vehicles Behind
Glare reduction is mostly about where you look and how your mirrors are set. You cannot control other drivers' lights, but you can control your response.
Step-by-Step Response to Sudden Glare and Temporary Blindness
When glare hits, slow down and look right. Do not stare at the source.
- Ease off the accelerator and reduce speed.
- Shift your gaze to the right edge of your lane.
- Use the lane marking as your guide until vision returns.
- Increase following distance so you have room to react.
- If glare is constant, pull over safely and let your eyes recover.
Mirror Settings and Night Mode That Cut Reflected Glare
Most rear-view mirrors have a night setting: flip the tab or press the button to dim the reflection. If your vehicle has an automatic dimming mirror, leave it on. Angle side mirrors outward slightly so headlights behind you fall outside the reflection.
Headlight Restoration vs Replacement: Which Fixes Cloudy Lenses?
Headlight restoration is the process of sanding and polishing the oxidized outer layer of a plastic lens to bring back clarity. Replacement means installing a new assembly. For most cloudy lenses, restoration is the practical first step; replacement makes sense when the housing is cracked or moisture has damaged the internals.
When Restoration Is Enough and When Replacement Makes Sense
| Lens Condition | Best Fix | Why |
|---|---|---|
| Yellowed or hazy surface | Restoration | Oxidation sits on the outer layer |
| Light scratches | Restoration | Polishing removes surface damage |
| Cracks or chips | Replacement | Structure is compromised |
| Moisture inside housing | Replacement | Seals have failed |
Safe Bulb Replacement and Beam Alignment Basics
Match the bulb type to your vehicle's specification and replace bulbs in pairs so output stays even. For aim, park on level ground facing a wall, mark the center of each beam, and adjust until both sit level and slightly below horizontal. Your owner's manual lists the adjustment screws.
Ceramic Coating for Headlights: Why It Keeps Lenses Clear Longer
Ceramic coating for headlights is a protective layer applied after restoration that blocks UV light and slows re-oxidation. Without it, a freshly polished lens can haze over again within months under strong sun.
Our mobile service restores cloudy, yellowed lenses to OEM clarity at your home or office in 30 to 60 minutes, then seals them with a ceramic UV coating built for high-altitude sun.
Aftermarket LED and Auxiliary Lights: What Actually Helps
Aftermarket lighting is the most misunderstood upgrade in night driving. Done right, it improves your view. Done wrong, it scatters light into oncoming traffic, makes the road worse for everyone, and can fail a state safety inspection. Here is how to tell the difference.
Why Drop-In LED Bulbs Often Make Things Worse
A halogen headlight housing is engineered around a specific filament position and a specific amount of heat.
A common pattern is a drop-in LED that looks brighter from the driver's seat but actually reduces the distance at which you can see lane markings. The light is going somewhere, just not where you need it.
When an LED Upgrade Actually Helps
An LED upgrade is worth considering when:
- The housing was designed for LED from the factory, or
- You are replacing the entire assembly with one engineered for LED, or
- The bulb manufacturer publishes a beam pattern test showing the output matches the halogen original.
If none of those apply, the upgrade is a gamble. A clean, restored halogen lens with a fresh, matched bulb pair usually beats a drop-in LED behind a cloudy lens.
Legality and Inspection
Headlight equipment is regulated at the federal level by Federal Motor Vehicle Safety Standard 108, which sets requirements for light output, beam pattern, and markings. Aftermarket bulbs and assemblies that do not carry the required markings may not be legal for on-road use, and many state safety inspections check for them. Before you buy, confirm the product is marked for on-road use and check your state's inspection rules.
Auxiliary Lights: Fog Lights and Driving Lights
Auxiliary lights are supplemental lamps, not replacements for your headlights. They help in specific situations and hurt in others.
- Fog lights are designed for low-speed, poor-weather driving. They cast a wide, low beam that lights the road edge without reflecting back off fog or rain. Use them in fog, heavy rain, or snow, and turn them off when conditions clear.
- Driving lights are designed for unlit rural roads at higher speeds. They throw a long, narrow beam. They are not legal for use around other vehicles in most states because they can blind oncoming drivers. Turn them off whenever traffic is present.
The Glare Trade-Off
Every auxiliary light you add increases the chance you blind someone else. A blinded oncoming driver may drift into your lane. The safest upgrade is usually not more light, but better-aimed light: restore the lenses, replace the bulbs in matched pairs, and confirm the aim. That fixes the problem at its source.
Vision, Medication, and When to See an Eye Doctor
Some night vision problems are not about the car at all. Certain medications list night vision changes as a side effect, and conditions like cataracts reduce contrast sensitivity. The National Eye Institute's information on cataracts explains how clouding of the lens affects low-light sight, and the National Highway Traffic Safety Administration's pedestrian safety data shows why detection distance matters so much after dark.
Conclusion: Build Your Night Driving Routine
Clear lenses, clean glass, and a mirror set for night use solve most nighttime visibility problems. If your lenses are cloudy or yellowed, that is the one fix worth outsourcing. Colorado Headlight Restoration comes to your home or office, restores OEM clarity in 30 to 60 minutes, applies a ceramic UV sealant designed to withstand high-altitude sun for up to three years, and backs it with a one-year free re-restoration guarantee.
Frequently Asked Questions
Can cloudy or yellowed headlights affect nighttime visibility?
Yes. Oxidized, yellowed lenses block a large share of the light your bulbs produce, so the road ahead looks dimmer even when the bulbs work fine. Restoring the lens surface brings back most of the original output. If the lens is cloudy, a professional restoration costs a fraction of new assemblies and can be done in under an hour.
How do I know whether my headlights need restoration or replacement?
Check the lens first. If the plastic is hazy, yellowed, or scratched on the outside but the housing is intact, restoration usually fixes it. Replacement makes sense when the housing is cracked, moisture is trapped inside, or the internal reflector has failed. A technician can confirm which path fits your vehicle during a quick inspection.
How can I reduce glare from oncoming headlights?
Look toward the right edge of your lane, not directly at the lights. Slow down and increase following distance. Keep your windshield clean inside and out, since streaks and film scatter light. Flip your rear-view mirror to night mode so headlights behind you dim. If glare still bothers you, ask an eye doctor about anti-glare lenses.
What causes poor visibility at night besides headlights?
Dirty windshields, worn wiper blades, streaking washer fluid, and smudged mirrors all scatter light and cut clarity. Age-related eye changes, certain medications, and untreated vision conditions also reduce night vision. Cleaning glass, replacing wipers, and getting a regular eye exam address most of these causes.
Does ceramic coating for headlights really last?
A quality ceramic UV sealant can protect restored lenses for years, not weeks. The key is proper surface prep before application and a coating rated for UV exposure. On a high-altitude vehicle, a durable sealant is what keeps lenses from yellowing again after restoration.
Learn more about our headlight restoration in Denver, or see headlight restoration in Longmont.
Cloudy headlights? Get your price in 30 seconds.
Mobile service across the Denver metro. Most vehicles finished in 30–60 minutes, right in your driveway.