
Table of Contents
- Why Headlights Get Cloudy in Colorado
- How to Fix Cloudy Headlights
- How Long Does Headlight Restoration Take
- Headlight Restoration Cost vs. Replacement
- Headlight UV Protection and Long-Term Prevention
- Cloudy Headlights and Nighttime Visibility
- Conclusion
- Frequently Asked Questions
Last Updated: October 7, 2026
Why Headlights Get Cloudy in Colorado
Cloudy headlights cut nighttime visibility and make your vehicle look neglected.
The culprits: intense UV rays, temperature swings, road debris, and altitude.
UV Exposure and High-Altitude Sun Damage
Colorado gets roughly 300 days of sunshine per year, and UV radiation is stronger at higher elevation. Headlight lenses are polycarbonate plastic, which breaks down under constant UV exposure.
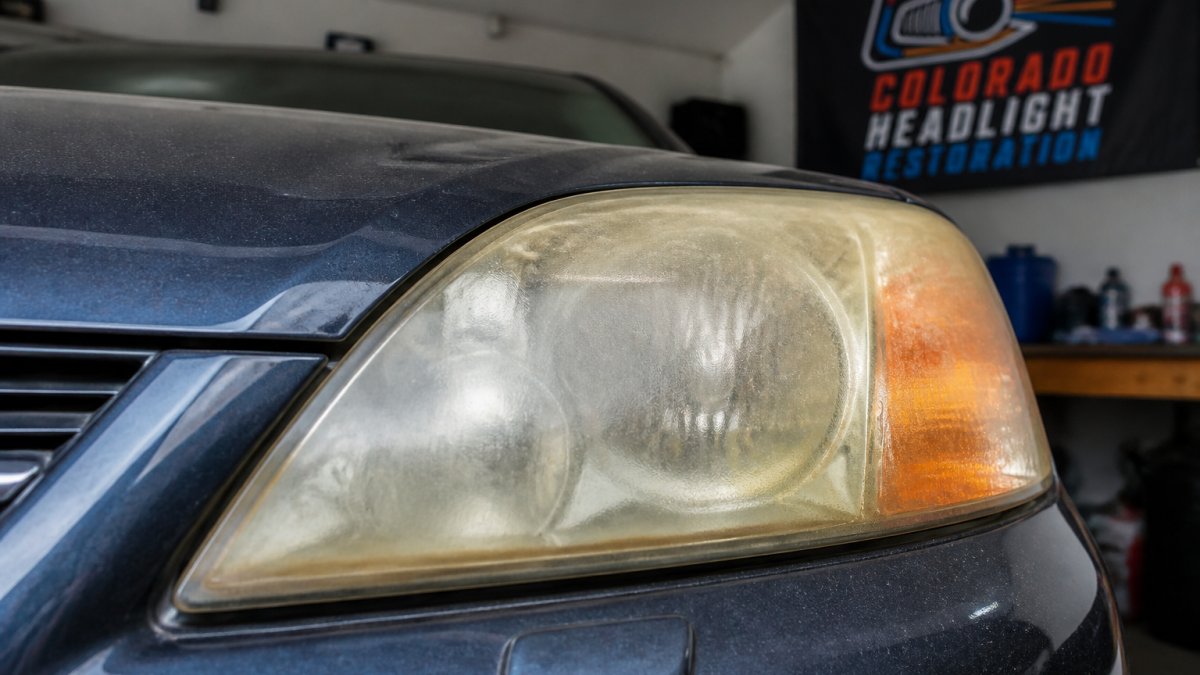
Modern headlights have a clear protective coating. UV rays degrade it; once it breaks down, the lens oxidizes, yellows, and becomes opaque, faster at altitude because less atmosphere filters UV rays.
Heat, Weather Cycles, and Oxidation
Colorado's temperature swings are brutal on lenses: winter nights below freezing, summer days at 90 degrees or higher.
Heat accelerates oxidation, the chemical process that darkens the lens, and cold nights cool it back down.
Hail can crack or pit the lens surface, and meltwater seeps into cracks, expands when it refreezes, and causes more damage.
Road Debris and Environmental Contaminants
Gravel, road salt, and dust constantly bombard your headlights, especially in winter when Colorado roads are treated with salt and sand.
Road debris scratches and pits the plastic, and each scratch is a place where moisture and oxidation take hold.
Environmental contaminants also include pollution and industrial dust, the Front Range has air quality challenges.
Internal Moisture and Condensation
Moisture inside the headlight assembly is a separate problem from external oxidation.
When warm air inside cools, it condenses into droplets that sit against the inner lens surface and can't evaporate, causing internal fogging and corrosion of the reflector.
Internal moisture shows as fogging that appears and disappears, worse on cold mornings, clearing on warm afternoons.
How to Fix Cloudy Headlights
Cloudy headlights are fixable. The question is whether DIY restoration works for your situation or professional restoration makes more sense.
Assessment: External Oxidation vs. Internal Moisture
Before any restoration, diagnose correctly, external oxidation and internal moisture need different solutions.
External oxidation is visible on the outer lens surface: yellowed or hazy, slightly rough to the touch.
Internal moisture appears as fogging inside the assembly, behind the clear lens rather than on top of it, like condensation on a bathroom mirror.
To test, shine a light into the headlight from inside the engine bay.
DIY Restoration: When It Works and When It Doesn't
DIY restoration works well for external oxidation: sand away the yellowed outer layer and apply a protective coating.
Here's the basic process:
- Clean the headlight thoroughly with soapy water and let it dry completely
- Mask off the surrounding area with masking tape to protect the paint
- Start with 1000-grit sandpaper and sand the entire lens surface with light pressure
This takes 2-4 hours per headlight.
DIY doesn't work for internal moisture. You can't sand the inside of a sealed headlight, and trapped moisture keeps causing problems.
Professional Restoration and Why It Lasts Longer
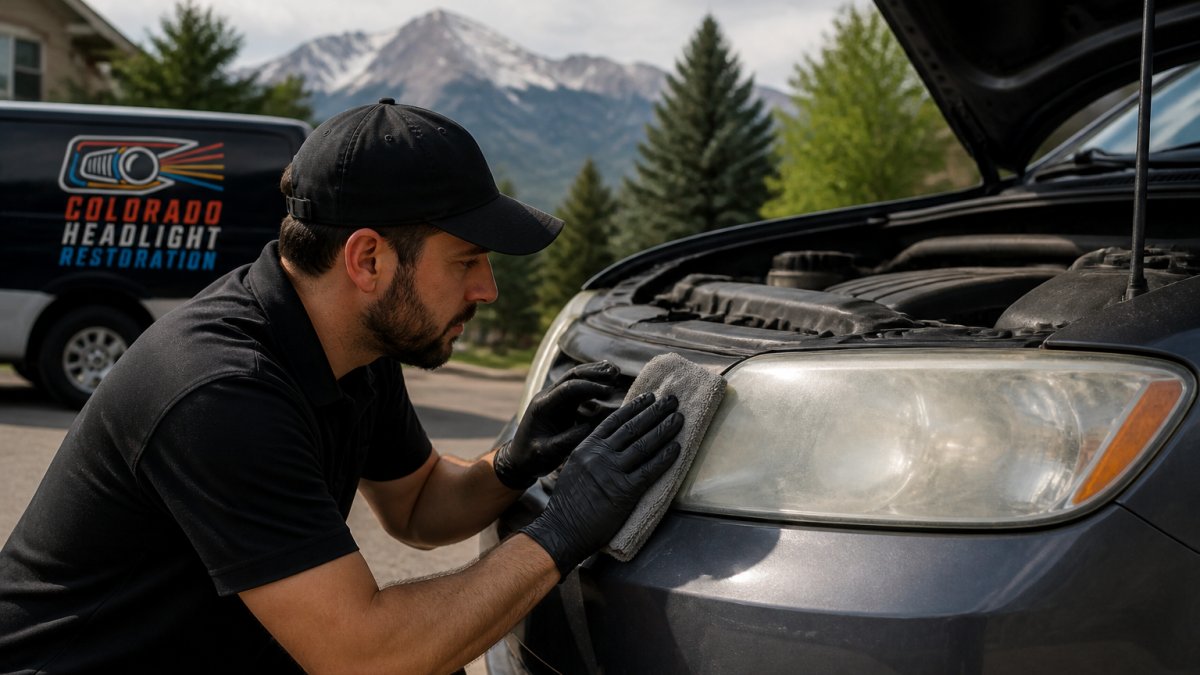
Professional restoration uses industrial-grade materials and proper technique. At Colorado Headlight Restoration, we apply a ceramic UV sealant designed to withstand high-altitude sun exposure for up to three years.
Professional restoration includes:
- Deep cleaning and removal of all contaminants
- Precision wet sanding with multiple grit levels
- Professional-grade polishing compounds
The ceramic sealant is the key difference: it bonds to the plastic at a molecular level, creating a durable barrier against UV rays and oxidation that resists the temperature swings which break down weaker coatings.
How Long Does Headlight Restoration Take
Professional restoration is fast. At Colorado Headlight Restoration, the mobile service takes 30-60 minutes and requires no drop-off or waiting in a shop.
Timeline depends on severity: light haze clears quickly, and heavy yellowing and pitting takes longer.
Most services finish quickly, and you can drive away the same day.
Headlight Restoration Cost vs. Replacement
Professional restoration costs a fraction of replacement. For current pricing and a quote, check Colorado Headlight Restoration's pricing page.
The math is simple: restoration saves hundreds of dollars and returns your headlights to OEM clarity without the cost of new assemblies.
Replacement makes sense only if:
- The headlight assembly is cracked or damaged beyond repair
- The lens has deep cracks that restoration can't fix
For most cloudy headlights in Colorado, restoration is the smarter choice: faster, cheaper, and effective.
Headlight UV Protection and Long-Term Prevention
Once your headlights are restored, the goal shifts from fixing damage to slowing it down. The same forces that clouded your lenses are still at work, so prevention means interrupting the mechanisms that degrade the plastic and its coating.
What You're Actually Protecting Against
Four things drive lens degradation:
- UV radiation breaks down the factory clear coat and the polycarbonate underneath. It's the primary driver and stronger at higher elevations.
- Abrasion from road grit, sand, and dust pits the surface and gives oxidation a place to start.
- Chemical exposure from road treatments, bug splatter, and bird droppings etches the coating over time.
Parking and Sun Exposure
UV is the biggest factor, and the simplest lever you control is where you park.
- Garage or carport whenever possible. Even partial midday shade cuts cumulative UV exposure significantly.
- Face the vehicle away from the afternoon sun if you park outside. The windshield and front lenses take the brunt of the western sun.
- Use a windshield sunshade to reduce interior heat and the thermal load on the front of the vehicle.
Washing: More Than Cosmetic
Regular washing isn't just about looks. It removes the abrasive and chemical contaminants that do the slow damage.
- Wash the front of the vehicle after winter storms. Road treatments and the sand and gravel mixed with them are abrasive and corrosive; rinsing them off before they sit for weeks makes a real difference.
- Rinse before you scrub. A pre-rinse lifts loose grit so you're not grinding it into the plastic with a wash mitt.
- Use a dedicated bug and tar remover on the lenses when you notice splatter. Bug guts are acidic and will etch a coating if left on.
Protective Coatings: What Lasts and What Doesn't
Not all protection is equal, and the gap between products is large.
- Wax and spray sealants are easiest to apply and least durable, in strong sun they need reapplication every few weeks to every couple of months.
- Consumer ceramic sprays last longer than wax, typically a few months to a year depending on the product and how the vehicle is stored.
- Professional-grade ceramic coatings applied during restoration are the most durable option. They bond to the lens surface and resist UV and thermal cycling, holding up for a few years rather than a few months.
The difference isn't just the product. It's the surface prep. A coating applied over a properly sanded, polished, and cleaned lens bonds far better than one applied over a lens that still has oxidized coating on it.
A Realistic Maintenance Schedule
Here's a practical cadence that balances effort and protection:
Every wash (roughly every two to four weeks):
- Rinse and wash the lenses with the rest of the vehicle
- Dry with a clean microfiber towel
- Inspect for new chips, haze, or spots
Every few months:
- Apply a spray sealant or wax designed for plastic lenses
- Check the coating for thinning (water stops beading, surface looks dull)
Annually:
- Have the coating evaluated if you had a professional application
- Reapply if the surface is no longer beading water
What to Avoid
A few habits accelerate the very damage you're trying to prevent:
- Abrasive scrubbing with paper towels, shop rags, or stiff brushes
- Harsh solvents like acetone, brake cleaner, or strong degreasers on the lens
- High-pressure washing aimed directly at the lens edge, which can force water past the seal
Durability and Cost Expectations
Restoration is not a permanent fix. How long it lasts depends on coating quality, how the vehicle is stored, and how consistently you maintain it.
- A DIY restoration with a consumer sealant might look good for a season and start fading within months in strong sun.
- A professional restoration with a durable ceramic coating typically holds up for a few years with basic maintenance.
- Vehicles parked outside will always need more frequent reapplication than vehicles kept in a garage.
Compared to new assemblies, even a restoration that needs refreshing every few years is a strong value. Treat the coating as a wear item, not a one-time fix, and refresh it before the lens hazes again.
Cloudy Headlights and Nighttime Visibility
Cloudy headlights aren't just ugly. They change how your headlights perform at night, and the change is measurable if you know what to look for.
What Cloudiness Does to the Beam
A clear polycarbonate lens lets the reflector and bulb project a focused beam with a sharp cutoff. When the outer surface oxidizes, it scatters light in every direction instead of passing it through cleanly, producing a dimmer, wider beam with a soft, fuzzy cutoff.
Two things happen at once:
- Less light reaches the road. Scattered light that should be aimed downrange is thrown sideways and upward.
- More glare reaches other drivers. That stray light can be uncomfortable or even blinding to oncoming traffic, even though your own view of the road is worse.
Heavily oxidized lenses noticeably cut usable downroad light, worst exactly where you need it most: the low-beam pattern that lights the lane ahead.
How to Check Your Own Headlights
You don't need a shop to get a rough read on beam quality. Try this at home:
- Park facing a plain wall or garage door about 25 feet away on level ground.
- Turn on your low beams and look at the pattern. A healthy beam has a defined horizontal cutoff with a step or kick-up on the driver's side. A cloudy lens produces a soft, smeared edge with light bleeding above the cutoff.
- Look for hot spots and dark zones. A clear lens concentrates light into a bright, even pool. A hazy lens spreads it into a dull wash with uneven patches.
- Compare left and right. If one side is visibly dimmer or fuzzier, that lens is further along in its degradation.
- Walk to the side and look back at the lens. If the surface looks milky or yellowed from an angle, the outer coating is failing.
This test won't give you a lumen number, but it tells you whether your headlights are still doing their job or you're driving on a compromised beam.
Why This Matters More in Mountain and Storm Driving
At highway speed, how far your headlights illuminate determines how much time you have to react.
Wet pavement also reflects less light back to your eyes, so a beam that feels marginal on a dry road can feel genuinely inadequate in rain or slush.
Alignment: The Step Most People Skip
Restoring a lens fixes the surface, not the aim. If your headlights were bumped, you've added a lift or leveling kit, or the assemblies were replaced, the aim may be off.
After restoration, have the aim checked. Many shops verify headlight aim during a state safety inspection, and some do a quick check as a courtesy.
A quick way to spot an aim problem: if oncoming drivers flash their high beams at you while you're on low beams, your lights are probably aimed too high. If you can barely see past your own bumper, they're aimed too low.
Inspection and Legal Considerations
Most states require headlights to be functional and properly aimed, and some inspection programs check condition and output, a severely yellowed or hazy lens can be flagged. If your vehicle is due for inspection and your headlights look cloudy, restoring them first is usually faster and cheaper than a failed check and re-test.
The Bottom Line on Visibility
You don't need a laboratory to know your headlights are struggling, the wall test, a side-by-side comparison, and a look at the lens surface tell you most of what you need. If the beam is fuzzy, the cutoff soft, or the lens milky, restoration typically brings a noticeable improvement in what you see and how much glare you throw at other drivers.
Conclusion
Cloudy headlights in Colorado result from intense UV exposure, temperature extremes, road debris, and altitude degrading the protective coating on your lens.
Professional restoration restores OEM clarity with a ceramic UV sealant designed for Colorado conditions. It takes 30-60 minutes and costs a fraction of replacement.
Frequently Asked Questions
Why do headlights get cloudy in Colorado specifically?
Colorado's high altitude and intense UV exposure accelerate headlight degradation. The combination of strong sun, temperature swings between seasons, and hail exposure breaks down the plastic lens coating and outer protective layer faster than in lower-elevation areas. Road salt, dust, and environmental contaminants also accumulate on the lens surface, trapping moisture and accelerating oxidation of the plastic material.
How long does headlight restoration take?
Professional headlight restoration typically takes 30 to 60 minutes per vehicle, depending on the severity of oxidation and damage. The process includes lens cleaning, wet sanding with progressively finer grits, polishing, and application of a protective UV sealant or clear coat. DIY methods using sandpaper and polishing compounds may take 1 to 2 hours.
What's the difference between DIY restoration and professional service?
DIY restoration using soapy water, masking tape, sandpaper, and polishing compounds can temporarily improve clarity but often fades within weeks because the protective coating is incomplete or inadequate. Professional restoration includes industrial-grade sanding, precision polishing, and application of durable ceramic UV sealants designed to withstand high-altitude sun exposure for up to three years. Colorado Headlight Restoration also guarantees the work, whereas DIY results are unpredictable and short-lived.
How does headlight UV protection prevent future cloudiness?
UV protective coatings and ceramic sealants create a barrier that blocks ultraviolet rays from breaking down the plastic lens material. These coatings reflect harmful UV radiation and resist oxidation, heat damage, and environmental contaminants. In Colorado's intense sun environment, a quality UV sealant can extend headlight clarity for up to three years, significantly delaying the need for re-restoration or replacement.
Learn more about our headlight restoration in Denver, or see headlight restoration in Longmont.
Cloudy headlights? Get your price in 30 seconds.
Mobile service across the Denver metro. Most vehicles finished in 30–60 minutes, right in your driveway.